Milky Way Portraits
Milky Way Portraits
Capture the Stars: Tips for Milky Way Portraits
When it comes to photography, capturing the stars and the Milky Way can create breathtaking portraits that truly stand out. Whether you are a beginner or an experienced photographer, here are some tips to help you capture stunning Milky Way portraits.
1. Find a Dark Sky Location
One of the most critical factors in capturing the Milky Way is finding a location with minimal light pollution. Head to remote areas, away from city lights, to ensure a clear view of the night sky.
2. Use the Right Equipment
For Milky Way photography, you will need a sturdy tripod to keep your camera stable during long exposures. A wide-angle lens with a large aperture (f/2.8 or wider) is ideal for capturing more light from the stars.
3. Set the Correct Settings
Shoot in manual mode and set your camera to its highest ISO, typically around 3200-6400, to capture the faint light of the stars. Use a long exposure time, usually between 15-25 seconds, to gather enough light for a clear Milky Way shot.
4. Focus on the Stars
Manually focus your lens to infinity to ensure sharp star details in your Milky Way portraits. Use the live view mode on your camera to zoom in on a bright star and adjust the focus until it is crisp.
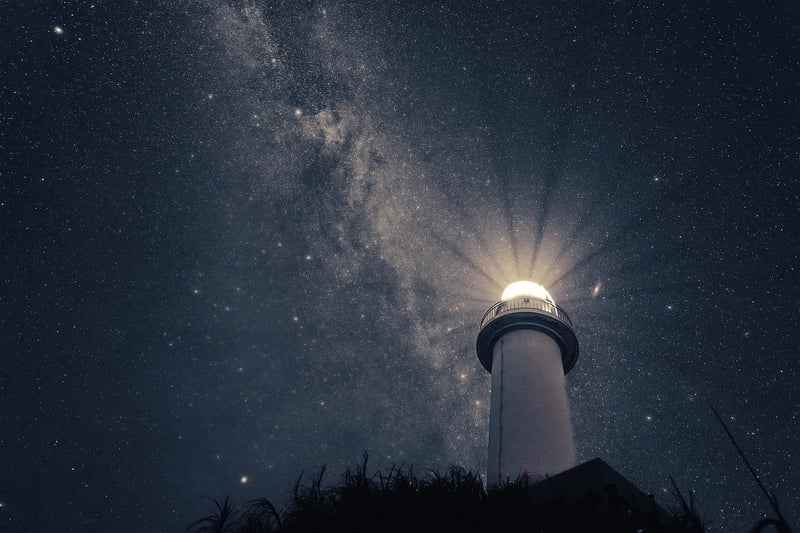
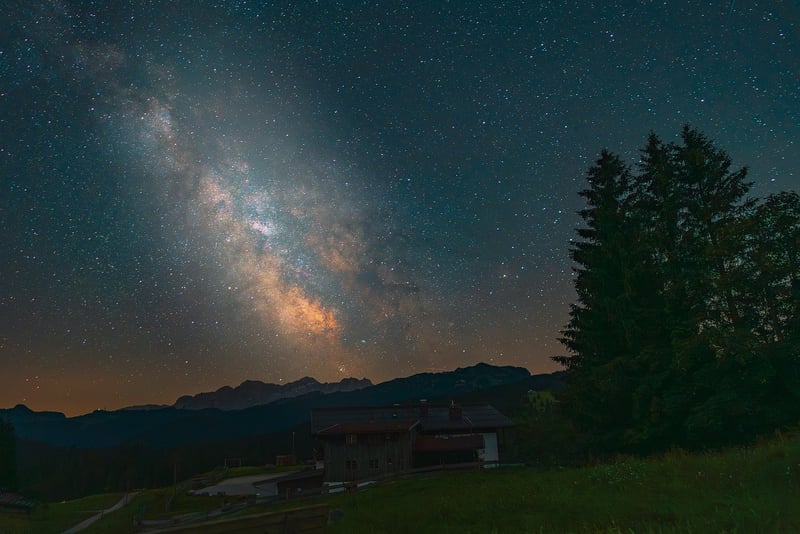
5. Experiment with Composition
Get creative with your composition by including elements like trees, mountains, or a captivating foreground to add depth and interest to your Milky Way portraits.
6. Post-Processing
After capturing your Milky Way portraits, use post-processing software like Adobe Lightroom or Photoshop to enhance the colors, contrast, and details of your images for a truly stunning final result.
By following these tips and techniques, you can capture mesmerizing Milky Way portraits that showcase the beauty of the night sky. Remember to practice, experiment, and enjoy the process of capturing the stars in all their glory!